
WebP, introduced by Google in 2010, is a modern image format celebrated for its efficient compression and superior image quality. This dynamic format incorporates both lossless and lossy compression methods, making it a preferred choice for web developers and designers striving to optimize website performance while maintaining visual integrity. In comparison to traditional formats like JPEG and PNG, WebP stands out by significantly reducing file sizes, a crucial attribute that translates into faster loading times for web pages and an overall improved user experience.
A notable feature of WebP lies in its support for advanced functionalities such as transparency and animation. This versatility makes it a comprehensive solution for a diverse array of graphic content on the internet. As the adoption of WebP continues to grow among browsers and platforms, it plays a pivotal role in shaping the landscape of web-based media by offering a compelling combination of efficient compression, faster loading times, and support for rich visual elements.
What's Next?
Discover a streamlined approach to image conversion on your Mac by integrating a conversion script into your services, accessible through the right-click menu. While automating image processing in your build is essential for efficiency, there are instances where you may want to quickly convert a single image for visual inspection or assess compressed file size and quality without running an entire build. Explore a hassle-free solution to on-the-fly WebP conversions with this user-friendly Mac services enhancement.
How to Setup
1. Install libwebp
The easiest installation is through a package manager:
If you have homebrew: brew install webp
2. Add the lib to your PATH
You may need to add the directory for these new packages to your shell configuration file, such as: .bashrc.
To determine the path to add, you can run the following command in Terminal or the shell:
which cwebp
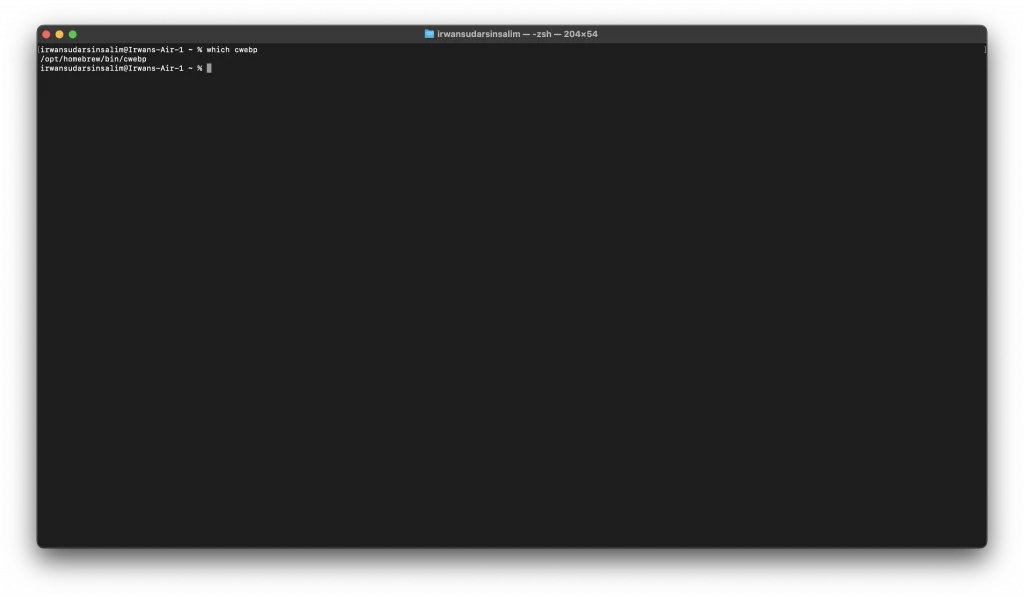
This command will confirm that you have successfully installed cwebp and will also provide information about its installation location.
Open the file using Vim, Emacs, or any text editor. You need to create the file if it doesn't exist.
/* Skip this if the file already exists */
touch ~/.bash_profile
touch ~/.bashrc
/* edit the file */vim ~/.bashrc
and append the path that resulted from the command which cwebp to the
$PATHPATH=$PATH:"/opt/homebrew/bin"
export PATH
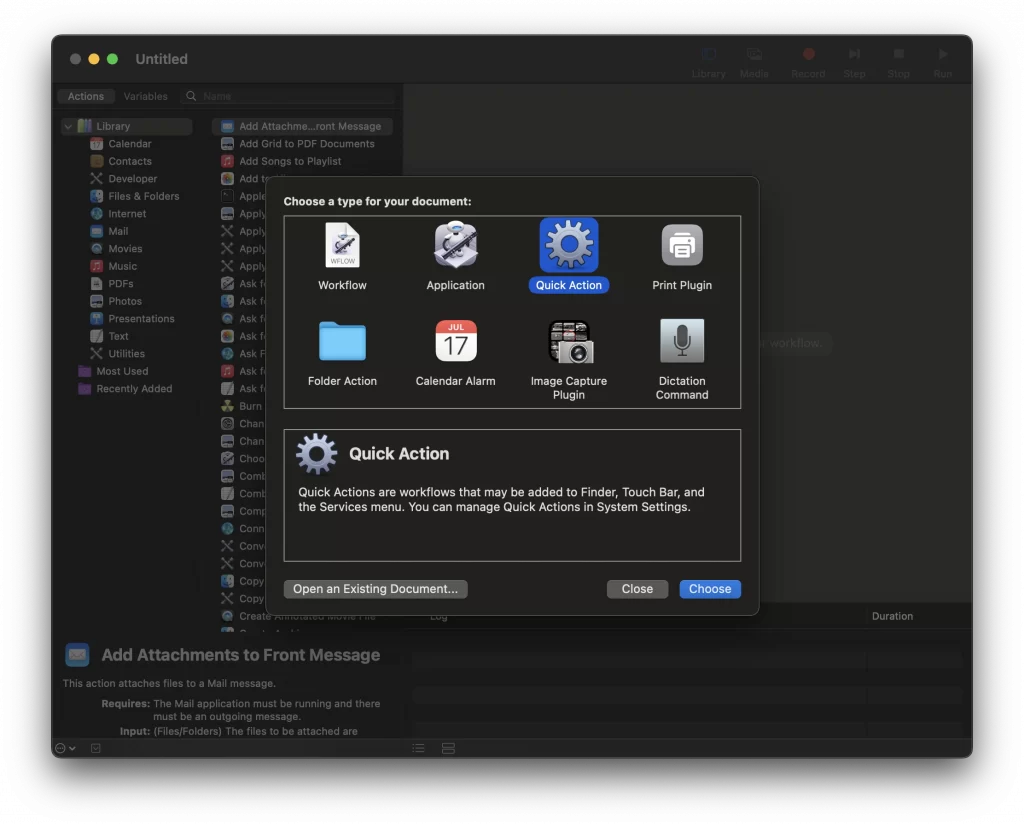
3. Make an Automator service
Open your Automator and then choose "Quick Actions"
Navigate to the leftmost panel and select "Utilities."
Within the Utilities section, drag and drop "Run Shell Script" into the main window.
Modify the workflow settings to "receives image files in Finder."
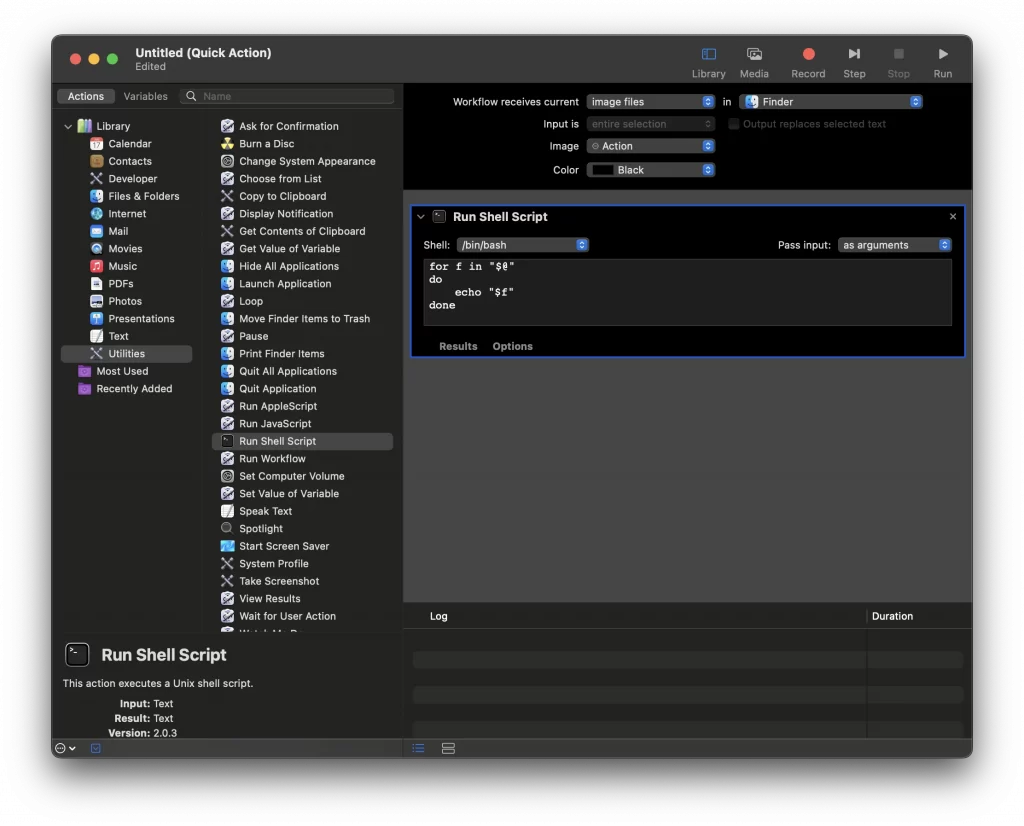
In the "Run Shell Script" section, specify the shell you are using (usually /bin/bash or the shell to which you added the path above). You can identify your shell by typing echo $SHELL into Terminal.
Adjust the option to "pass input as arguments."
And then paste this into the Run Shell Script box
source ~/.bashrcfor FILE in "$@"
do
echo "converting file: $FILE"
EXT=${FILE##*.}
QUALITY=80
cwebp -q $QUALITY "$FILE" -o "${FILE/%.$EXT/.webp}"
done
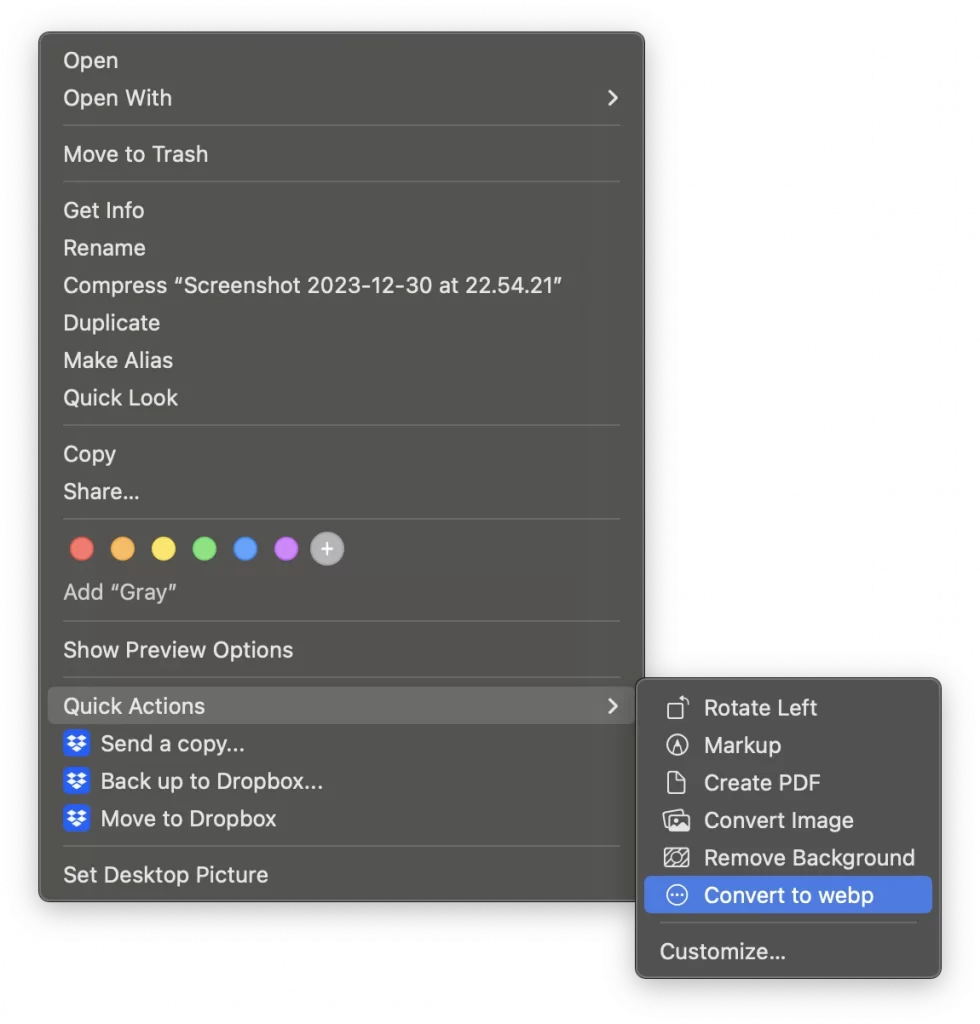
3. Save and Add to Your Services Menu
Click "Save..." and enter the desired name for it to appear in your secondary menu. This Automator service will automatically save itself in the appropriate location within your file system.
Give it a try! Right-click on an image and initiate the conversion. You should observe a new image generated within a second.
Experience the benefits of saving those precious kilobytes! Optimize your workflow with this quick and efficient image conversion service.