DjangoCMS is a powerful content management system that allows developers to create custom plugins for adding dynamic features to their websites. This guide will walk you through the step-by-step process of building a custom DjangoCMS plugin to enhance your website’s functionality.
Why Create a Custom Plugin in DjangoCMS?
By default, DjangoCMS provides various built-in plugins, but sometimes you may need custom functionality that is not available out of the box. Creating a custom plugin allows you to:
- Extend DjangoCMS functionality with your unique features.
- Provide custom content blocks for easier editing.
- Optimize performance with tailor-made solutions.
Step 1: Install DjangoCMS
Before creating a custom plugin, ensure that DjangoCMS is installed. If you haven’t set it up yet, install it using the following command:
bashCopyEditpip install djangocms-installer
djangocms myproject
cd myproject
Once installed, migrate the database and create a superuser:
bashCopyEditpython manage.py migrate
python manage.py createsuperuser
python manage.py runserver
This will launch your DjangoCMS project, allowing you to start creating plugins.
👉 Learn more about DjangoCMS on Wikipedia.
Step 2: Create a New Plugin App
To create a custom plugin, first, generate a new Django app inside your project:
bashCopyEditpython manage.py startapp myplugin
Now, register the new app inside INSTALLED_APPS in your settings.py file:
pythonCopyEditINSTALLED_APPS = [
    ...
    'myplugin',
    'cms',
    'menus',
]
Step 3: Define the Plugin Model
Inside the models.py file of your new app, define your plugin model:
pythonCopyEditfrom django.db import models
from cms.models.pluginmodel import CMSPlugin

class MyCustomPlugin(CMSPlugin):
    title = models.CharField(max_length=255, default="Custom Title")
    content = models.TextField()
Run the following commands to apply migrations:
bashCopyEditpython manage.py makemigrations myplugin
python manage.py migrate myplugin
Step 4: Create the Plugin Class
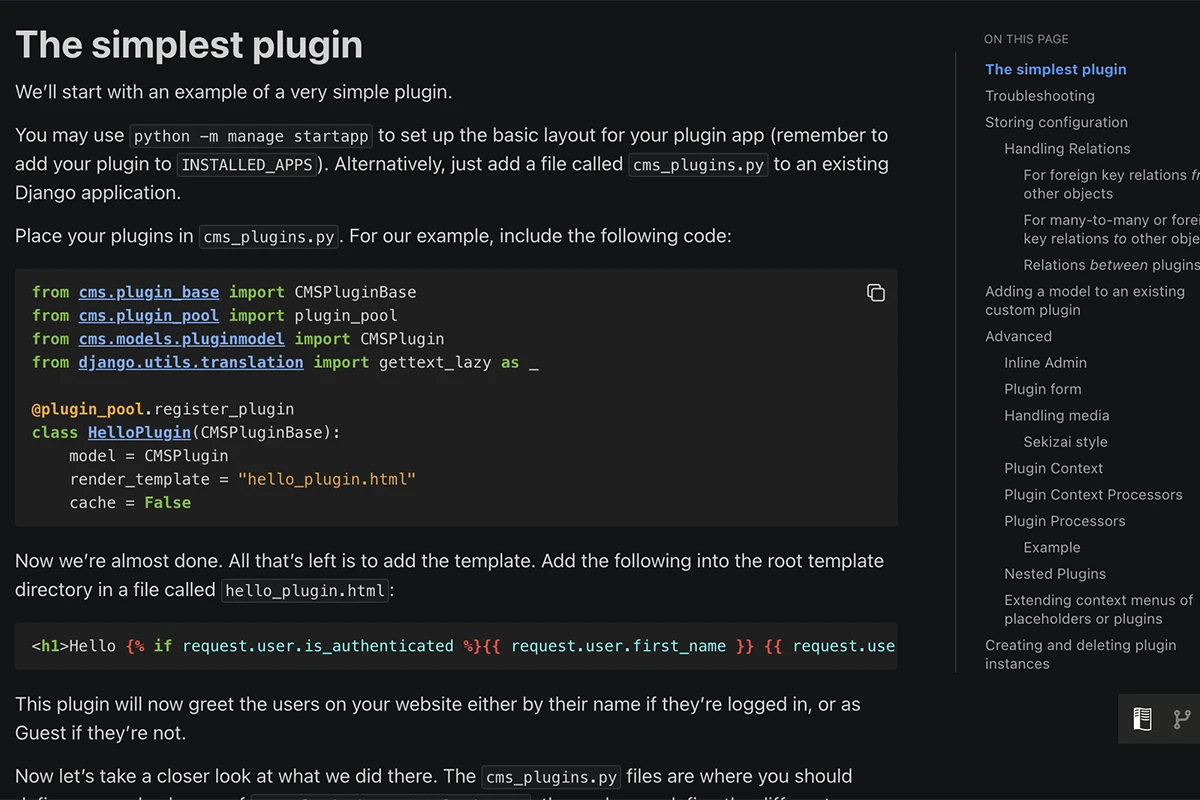
Now, create a cms_plugins.py file inside your myplugin folder and define your plugin:
pythonCopyEditfrom cms.plugin_base import CMSPluginBase
from cms.plugin_pool import plugin_pool
from .models import MyCustomPlugin
from django.utils.translation import ugettext_lazy as _

@plugin_pool.register_plugin
class MyPlugin(CMSPluginBase):
    model = MyCustomPlugin
    name = _("My Custom Plugin")
    render_template = "myplugin/plugin_template.html"
Step 5: Create the Plugin Template
Inside your myplugin/templates/myplugin/ directory, create a file called plugin_template.html and add the following content:
htmlCopyEdit<div class="custom-plugin">
    <h2>{{ instance.title }}</h2>
    <p>{{ instance.content }}</p>
</div>
Step 6: Register the Plugin in DjangoCMS
Restart the development server:
bashCopyEditpython manage.py runserver
Now, go to the DjangoCMS admin panel and add your custom plugin to any page using the CMS interface. 🎉
Final Thoughts: Need Help with DjangoCMS Plugins?
Creating a custom plugin in DjangoCMS allows you to add unique features to your website. However, if you find the process too complex or need a custom solution tailored to your needs, I can help! I offer professional DjangoCMS development services to ensure your website is built efficiently. Contact me today to get started!
